


Why do you need a SQL Cluster ?
The answer is very simple, you don't want to lose your data or you want to have a good sleep. Have you ever think about how to easily deploy some SQL Cluster without to learn something what you really don't want or you don't have a time ?
If yes, than I will show you how to get working a true Multi-Master Cluster based on synchronous replication. It’s an easy-to-use, high-availability solution, which provides high system up-time, no data loss and scalability for future growth.
The best thing about this tutorial, you can run in within Docker. If you are not familiar with Docker, don't worry it's really easy to use it.
What you need to know
Firstly, you need to know what you want to achieve. My goal is to have Cluster with minimal of 3 nodes, from 3 nodes I want to have 2 of them deployed on separate datacenters.
You really don't want to run 3 containers on 1 node. A lot of tutorials teach you how to run cluster within one node what is unacceptable, because what if that node will go down ? Trust me, run 3 standalone nodes to achieve Cluster.
If you are running 3 standalone nodes and minimal of 2 of them are in different environment and you have problem only with one server where is running SQL application and network is just fine, then you are happy and users don't notice the outage. There can be also problem with network devices, but we will talk about that maybe in the future.
Setup
We will use some network from RFC 1918 for nodes. For example 10.99.107.0/24. First one node will have an IP Address 10.99.107.71/24, second 10.99.107.72/24 and third 10.99.107.73/24. IP Address 10.99.107.70/24 will be used on our router as a gateway.
This tutorial will cover also setup of Keepalived, because we want to have one VIP IP Address through which the client will connect. For this puprose we will use IP Address 10.99.107.70/24.
If we have network, then we can prepare Nodes. I will use latest LTS Ubuntu. You can also use also different OS for your deployment, it's up to you. I'm connected as root so I don't need to use sudo in my commands.
Docker installation
First, update your existing list of packages:
apt update && apt upgrade -y
Next, install a few prerequisite packages which let apt use packages over HTTPS:
apt install apt-transport-https ca-certificates curl software-properties-common
Then add the GPG key for the official Docker repository to your system:
add-apt-repository "deb [arch=amd64] https://download.docker.com/linux/ubuntu focal stable"
Add the Docker repository to APT sources:
add-apt-repository "deb [arch=amd64] https://download.docker.com/linux/ubuntu focal stable"
Install Docker:
apt install docker-ce -y
Keepalived
When you hear the term "high availability," you might think of large, complex environments. But basic HA doesn't have to be complicated with Docker Keepalived.
I like to use bash to run simple tasks. You can benefit from that just copy this bash script and paste it to the file keepalived.sh. We will use host network and
osixia docker image.
node-01
#!/bin/bash

# Keepalived network interface. Defaults to: eth0
INTERFACE=ens160
# Keepalived password. Defaults to: d0cker
PASSWORD=
# Keepalived node priority. Defaults to: 150
PRIORITY=200
# Keepalived unicast peers.
# Defaults to: 192.168.1.10, 192.168.1.11.
UNICAST_PEERS=10.99.107.71,10.99.107.72,10.99.107.73
# Keep,alived virtual IPs. Defaults to: 192.168.1.231,
VIRTUAL_IPS=10.99.107.70
# The starting state. It can either be MASTER or BACKUP.
STATE=MASTER

docker run -d \
  --name keepalived \
  --net=host \
  --restart=always \
  --cap-add=NET_ADMIN \
  --cap-add=NET_BROADCAST \
  --cap-add=NET_RAW \
  -e KEEPALIVED_INTERFACE="$INTERFACE" \
  -e KEEPALIVED_UNICAST_PEERS="#PYTHON2BASH:['$UNICAST_PEERS']" \
  -e KEEPALIVED_VIRTUAL_IPS=$VIRTUAL_IPS \
  -e KEEPALIVED_PRIORITY=$PRIORITY \
  -e KEEPALIVED_STATE=$STATE \
  osixia/keepalived:2.0.20
node-02
#!/bin/bash

# Keepalived network interface. Defaults to: eth0
INTERFACE=ens160
# Keepalived password. Defaults to: d0cker
PASSWORD=
# Keepalived node priority. Defaults to: 150
PRIORITY=150
# Keepalived unicast peers.
# Defaults to: 192.168.1.10, 192.168.1.11.
UNICAST_PEERS=10.99.107.71,10.99.107.72,10.99.107.73
# Keep,alived virtual IPs. Defaults to: 192.168.1.231,
VIRTUAL_IPS=10.99.107.70
# The starting state. It can either be MASTER or BACKUP.
STATE=BACKUP

docker run -d \
  --name keepalived \
  --net=host \
  --restart=always \
  --cap-add=NET_ADMIN \
  --cap-add=NET_BROADCAST \
  --cap-add=NET_RAW \
  -e KEEPALIVED_INTERFACE="$INTERFACE" \
  -e KEEPALIVED_UNICAST_PEERS="#PYTHON2BASH:['$UNICAST_PEERS']" \
  -e KEEPALIVED_VIRTUAL_IPS=$VIRTUAL_IPS \
  -e KEEPALIVED_PRIORITY=$PRIORITY \
  -e KEEPALIVED_STATE=$STATE \
  osixia/keepalived:2.0.20
node-03
#!/bin/bash

# Keepalived network interface. Defaults to: eth0
INTERFACE=ens160
# Keepalived password. Defaults to: d0cker
PASSWORD=
# Keepalived node priority. Defaults to: 150
PRIORITY=100
# Keepalived unicast peers.
# Defaults to: 192.168.1.10, 192.168.1.11.
UNICAST_PEERS=10.99.107.71,10.99.107.72,10.99.107.73
# Keep,alived virtual IPs. Defaults to: 192.168.1.231,
VIRTUAL_IPS=10.99.107.70
# The starting state. It can either be MASTER or BACKUP.
STATE=BACKUP

docker run -d \
  --name keepalived \
  --net=host \
  --restart=always \
  --cap-add=NET_ADMIN \
  --cap-add=NET_BROADCAST \
  --cap-add=NET_RAW \
  -e KEEPALIVED_INTERFACE="$INTERFACE" \
  -e KEEPALIVED_UNICAST_PEERS="#PYTHON2BASH:['$UNICAST_PEERS']" \
  -e KEEPALIVED_VIRTUAL_IPS=$VIRTUAL_IPS \
  -e KEEPALIVED_PRIORITY=$PRIORITY \
  -e KEEPALIVED_STATE=$STATE \
  osixia/keepalived:2.0.20
Then run on all three nodes to make bash script executable:
chmod +x keeaplived.sh
After this you can run :
./keepalived.sh
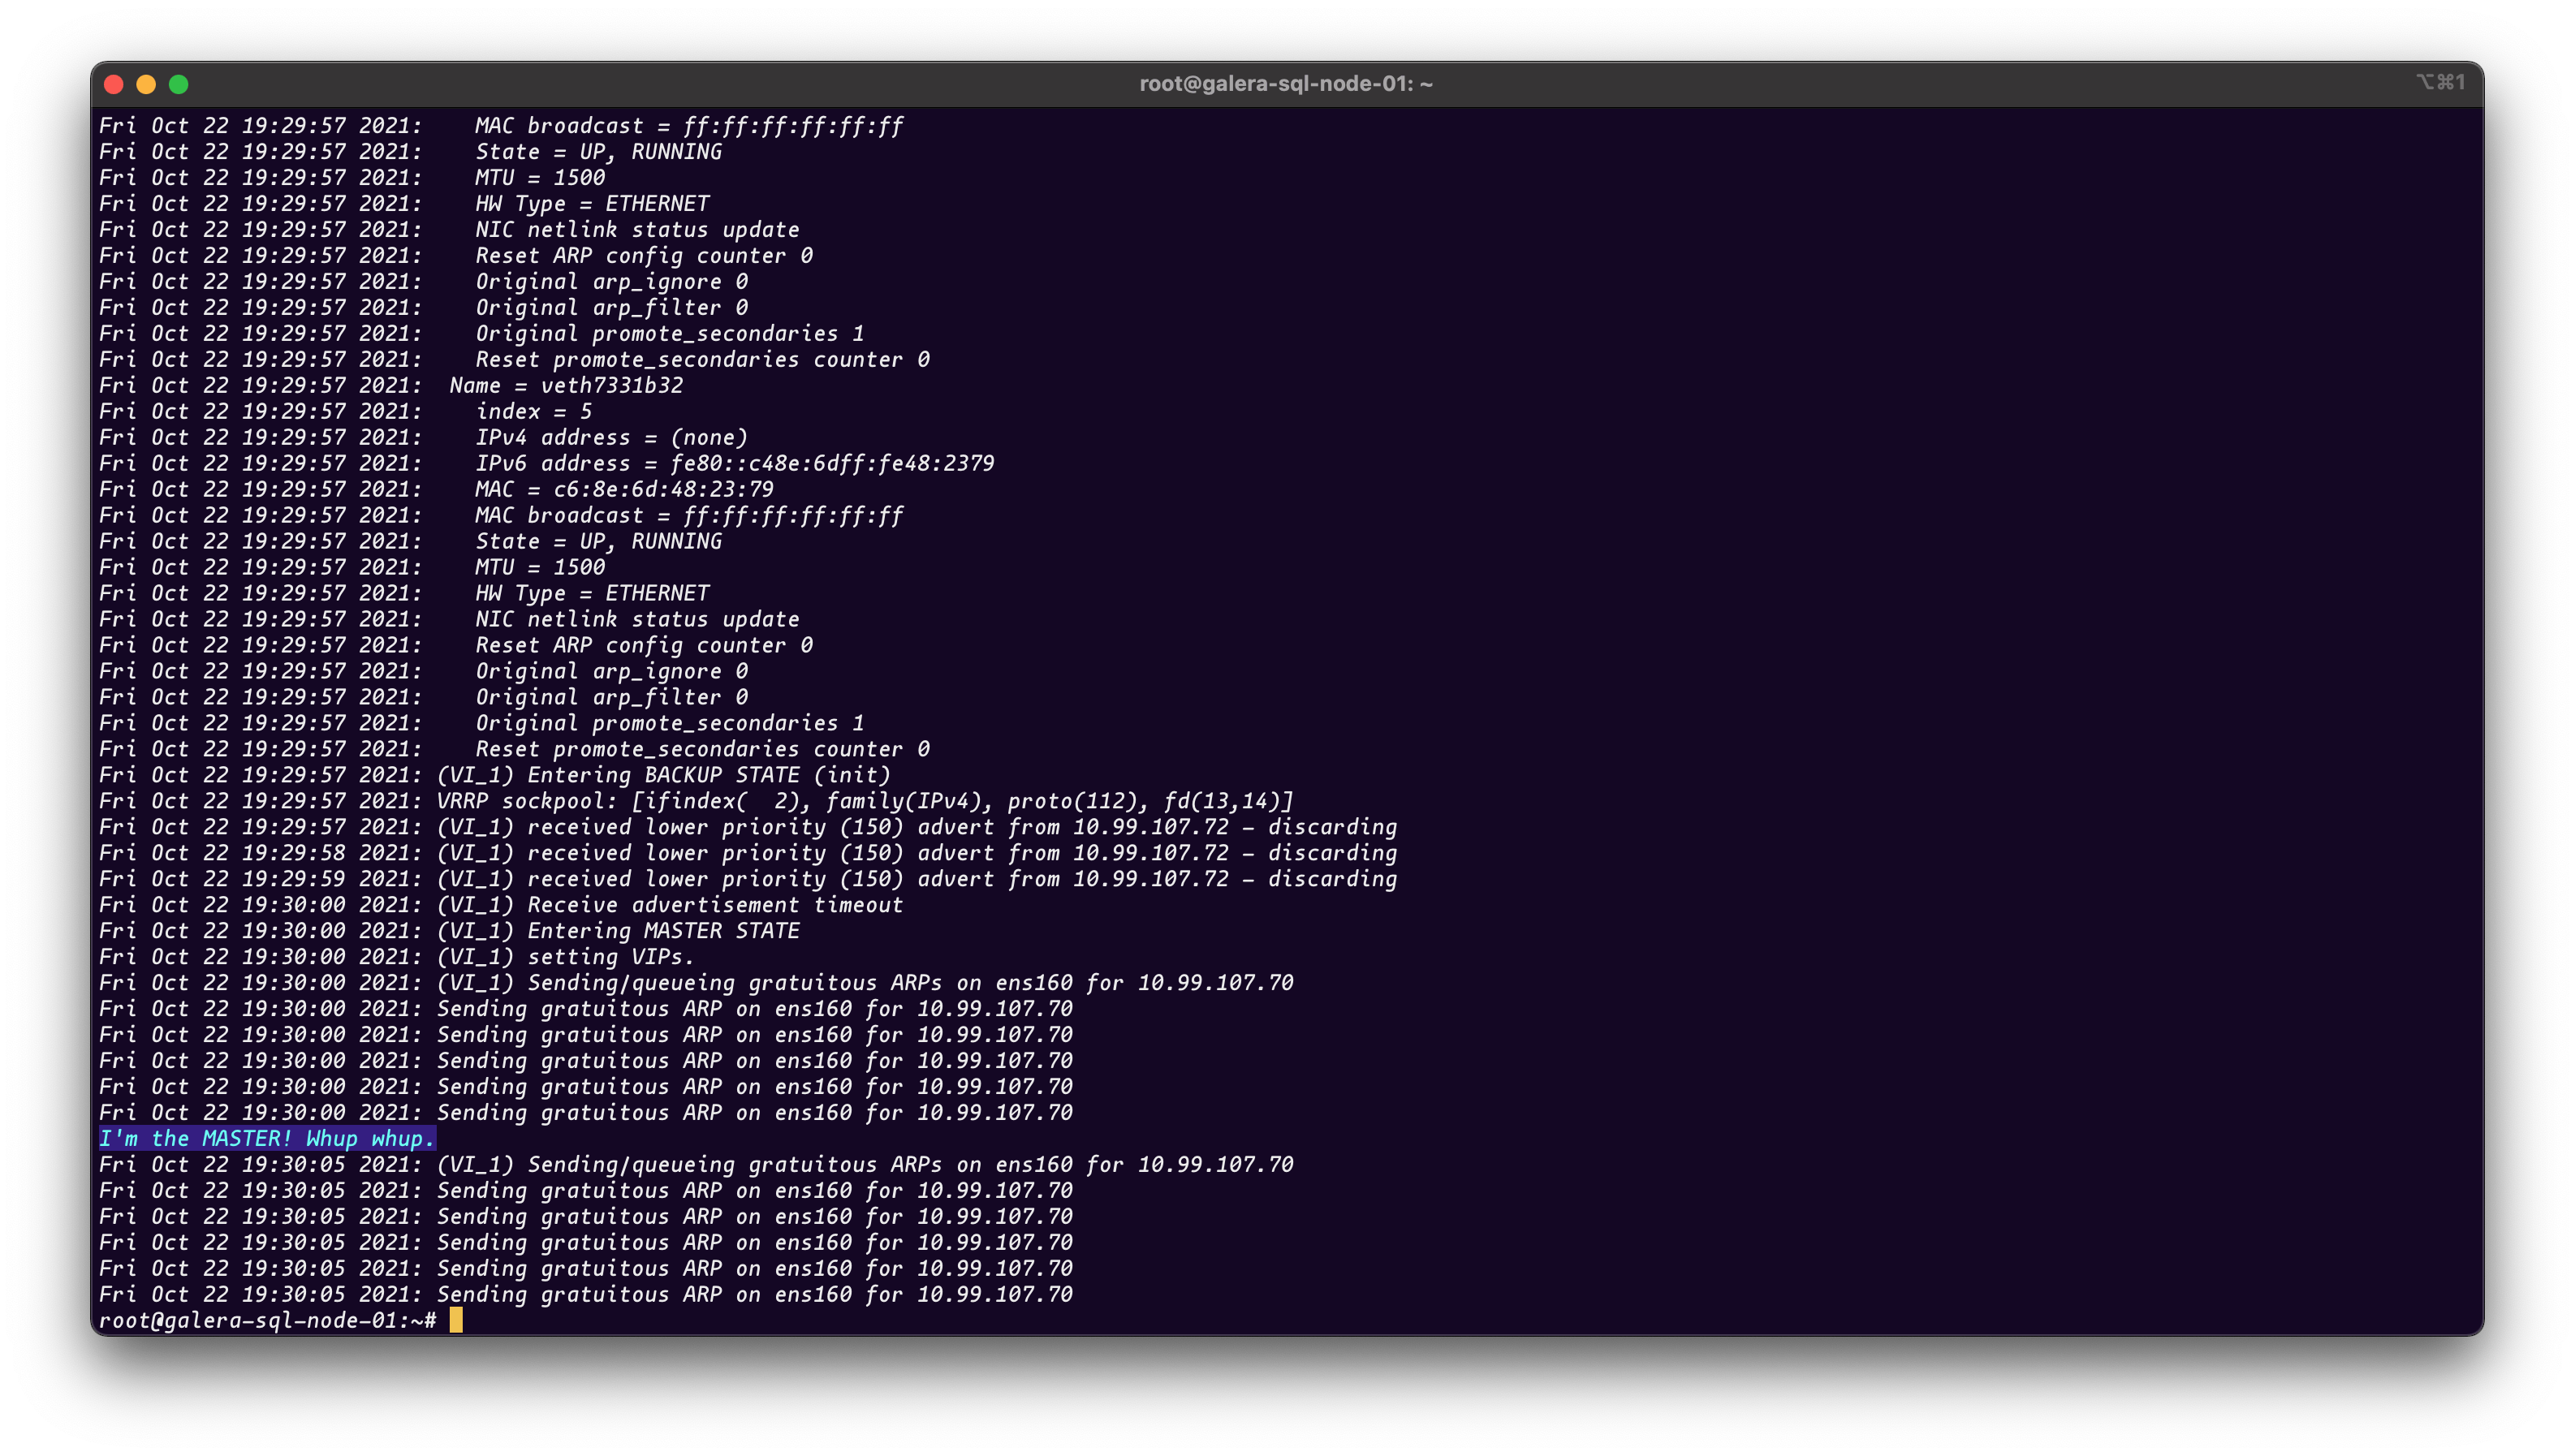
on all 3 nodes to get VIP IP Address. After container deployment node-01 will be the MASTER and node-02, node-03 will be BACKUP. If node-01 will go down, node-02 will be MASTER.
The server with the highest priority “wins” and will act as the MASTER. If you are not specify PRIORITY then MASTER will be host with highest IP Address!
Easy!
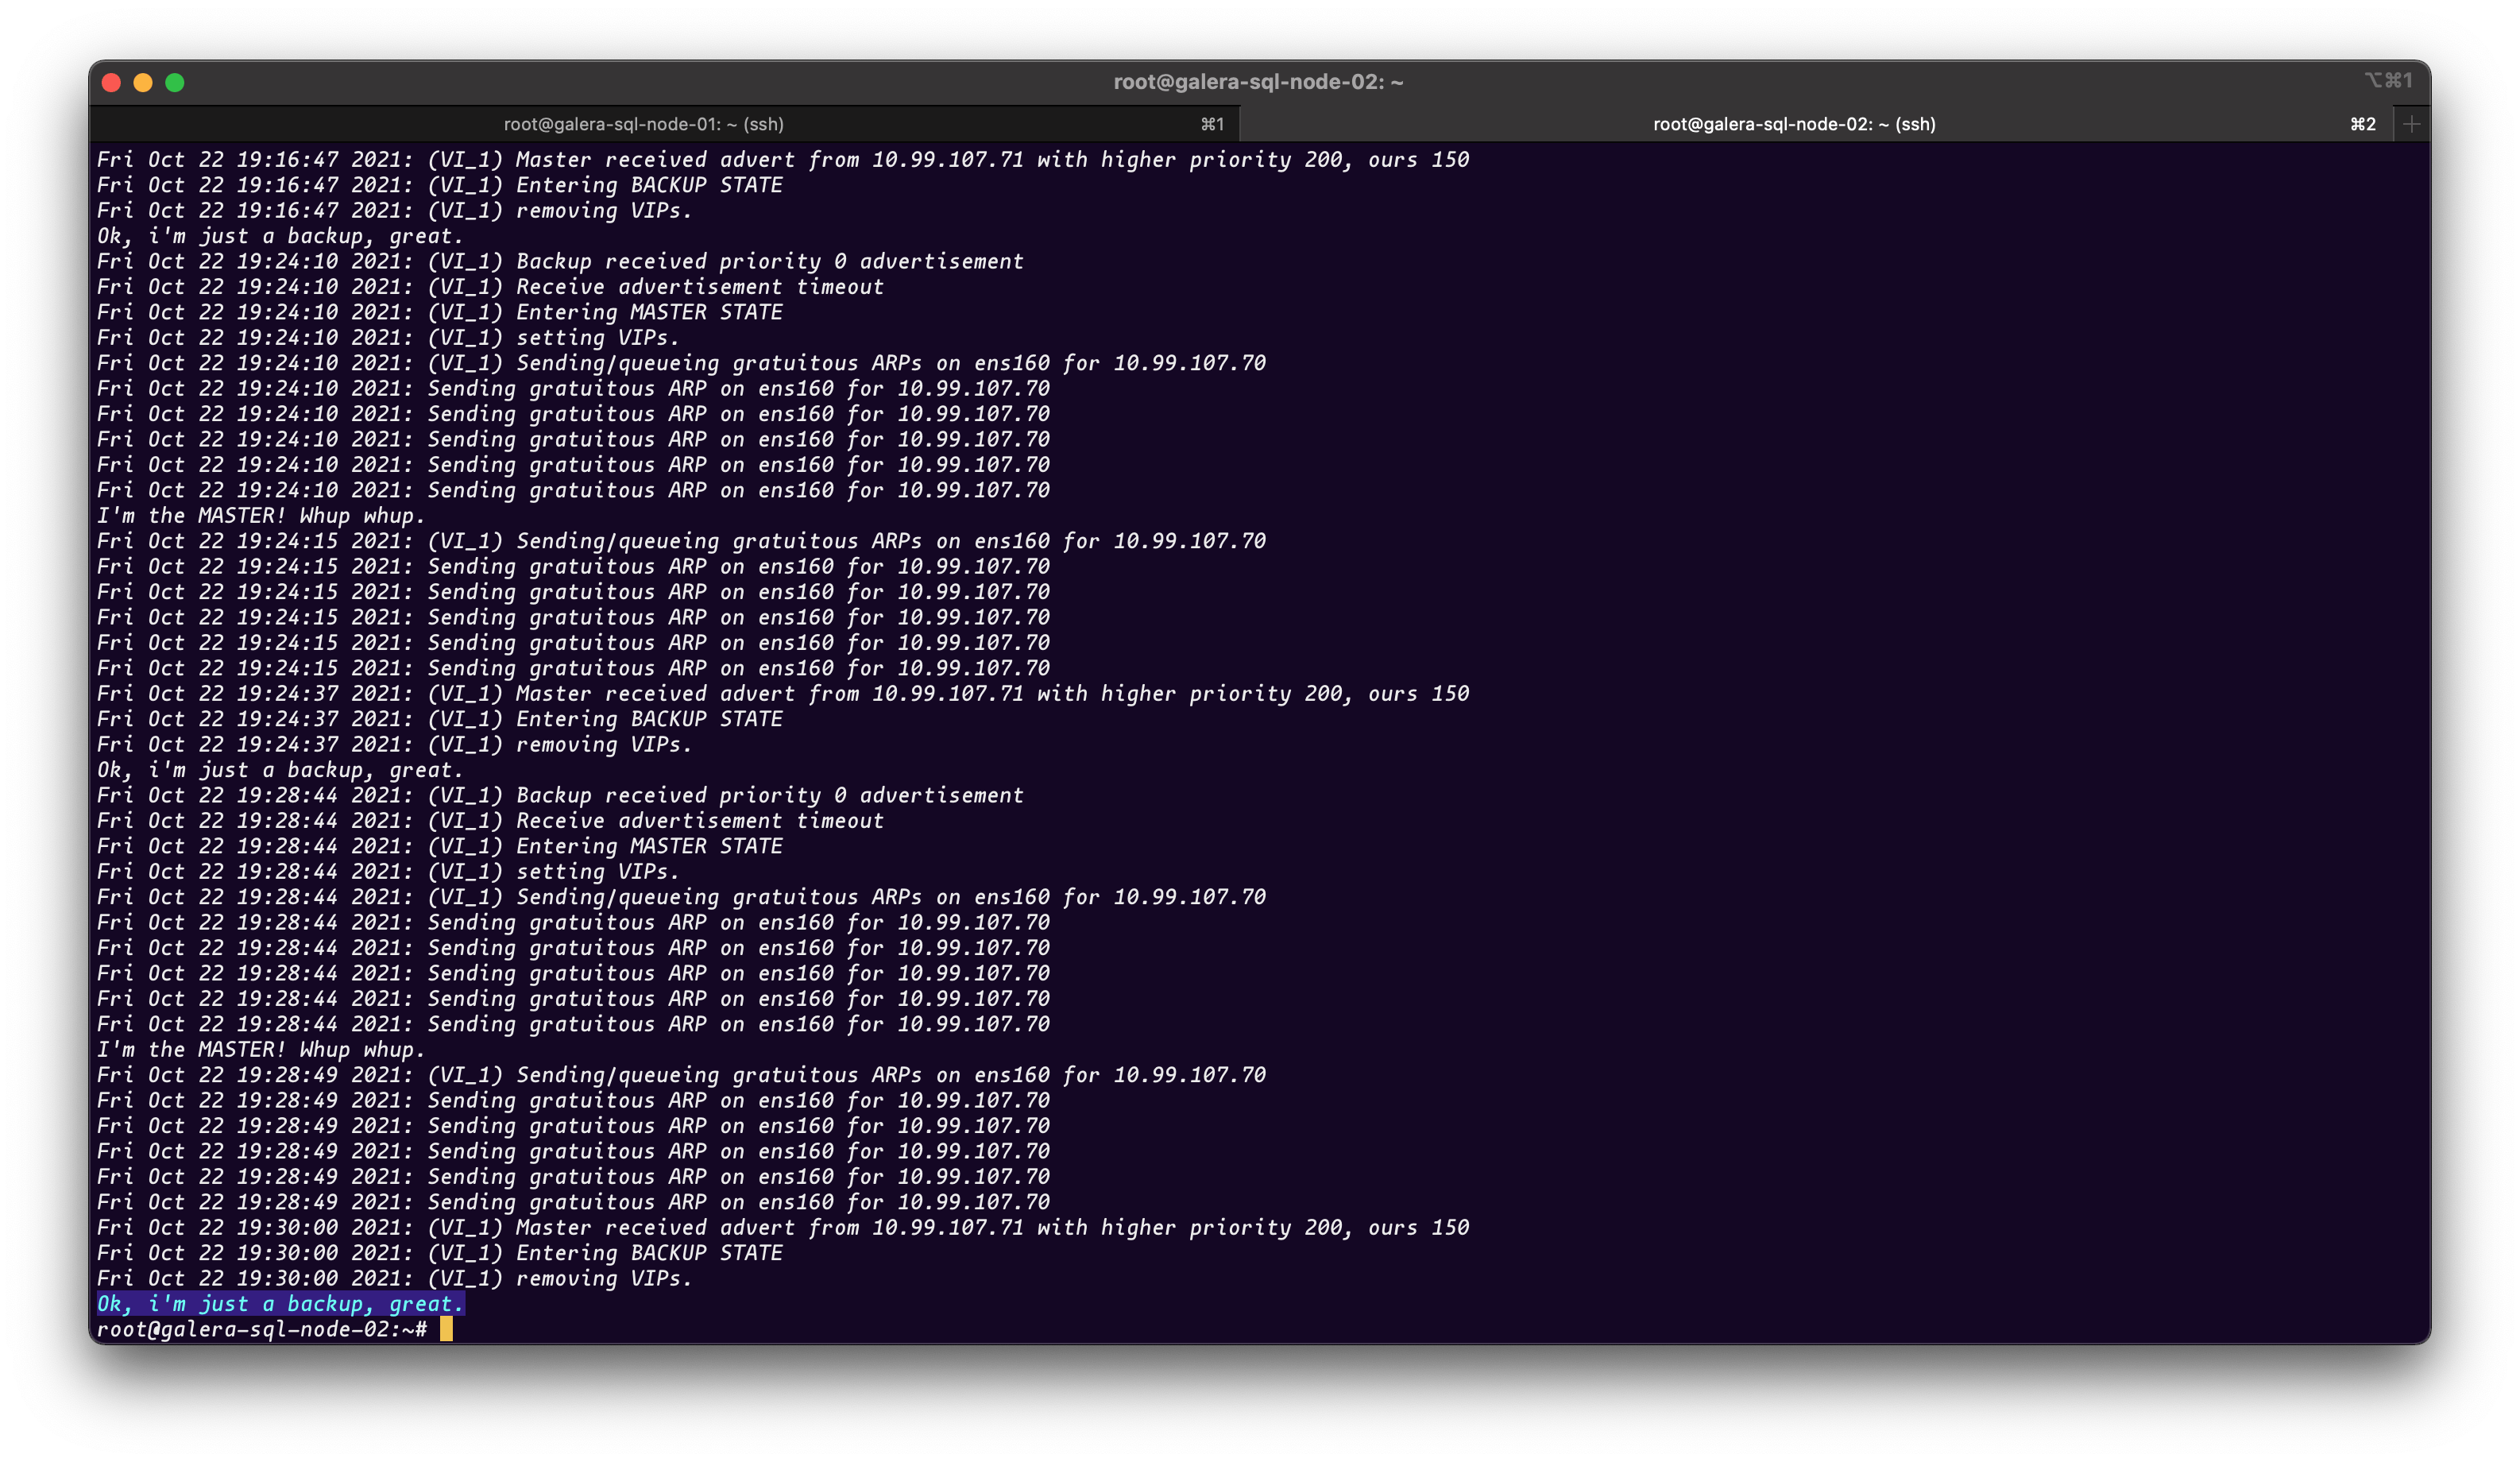
You can check the status of node with:
docker logs keepalived
On the picture you can see that node-01 is in MASTER state:
and node-02 is in BACKUP state:
Try it and let me know if you are happy with the result.
MariaDB Galera Cluster
After successful deployment of Keepalived we can start with MariaDB Galera Cluster. We will use bitnami-docker-mariadb-galera docker image, which is really nice, but there is a problem which is described in PR#53. There is also fix and I am using that fix already, but will be really great to get that fix in main branch. For now we will learn how to use this image within MAIN branch to get running MariaDB Galera Cluster. If you are interested how to run this image with fixed version you can read it in PR or text me and I will try to help you.
So, we will use bash script here as well with host network. Please copy bash script across all 3 nodes and name it galera.sh:
#!/bin/bash

docker run -d \
  --name galera \
  --net=host \
  --restart=always \
  --env-file ./.env \
  -v 'galera:/bitnami/mariadb' \
  bitnami/mariadb-galera:latest
After that we will need 3 different .env file:
node-01
MARIADB_GALERA_CLUSTER_NAME=galera
MARIADB_GALERA_CLUSTER_ADDRESS=gcomm://10.99.107.71,10.99.107.72,10.99.107.73
MARIADB_GALERA_NODE_ADDRESS=10.99.107.71
MARIADB_GALERA_MARIABACKUP_PASSWORD=backup
MARIADB_ROOT_PASSWORD=password
MARIADB_USER=galera
MARIADB_PASSWORD=galera
MARIADB_REPLICATION_USER=replica
MARIADB_REPLICATION_PASSWORD=replica
MARIADB_GALERA_CLUSTER_BOOTSTRAP=yes
node-02
MARIADB_GALERA_CLUSTER_NAME=galera
MARIADB_GALERA_CLUSTER_ADDRESS=gcomm://10.99.107.71,10.99.107.72,10.99.107.73
MARIADB_GALERA_NODE_ADDRESS=10.99.107.72
MARIADB_GALERA_MARIABACKUP_PASSWORD=backup
MARIADB_ROOT_PASSWORD=password
MARIADB_USER=galera
MARIADB_PASSWORD=galera
MARIADB_REPLICATION_USER=replica
MARIADB_REPLICATION_PASSWORD=replica
node-03
MARIADB_GALERA_CLUSTER_NAME=galera
MARIADB_GALERA_CLUSTER_ADDRESS=gcomm://10.99.107.71,10.99.107.72,10.99.107.73
MARIADB_GALERA_NODE_ADDRESS=10.99.107.73
MARIADB_GALERA_MARIABACKUP_PASSWORD=backup
MARIADB_ROOT_PASSWORD=password
MARIADB_USER=galera
MARIADB_PASSWORD=galera
MARIADB_REPLICATION_USER=replica
MARIADB_REPLICATION_PASSWORD=replica
If you are done then run:
chmod +x galera.sh
After this you need to run deployment with ./galera.sh on node-01 first and wait few seconds till bootstrap will be completed. Then you can run ./galera.sh on node-02, please wait few seconds till the both nodes be PRIMARY and finally run ./galera.sh on node-03 to get 3 nodes MariaDB Galera Cluster.
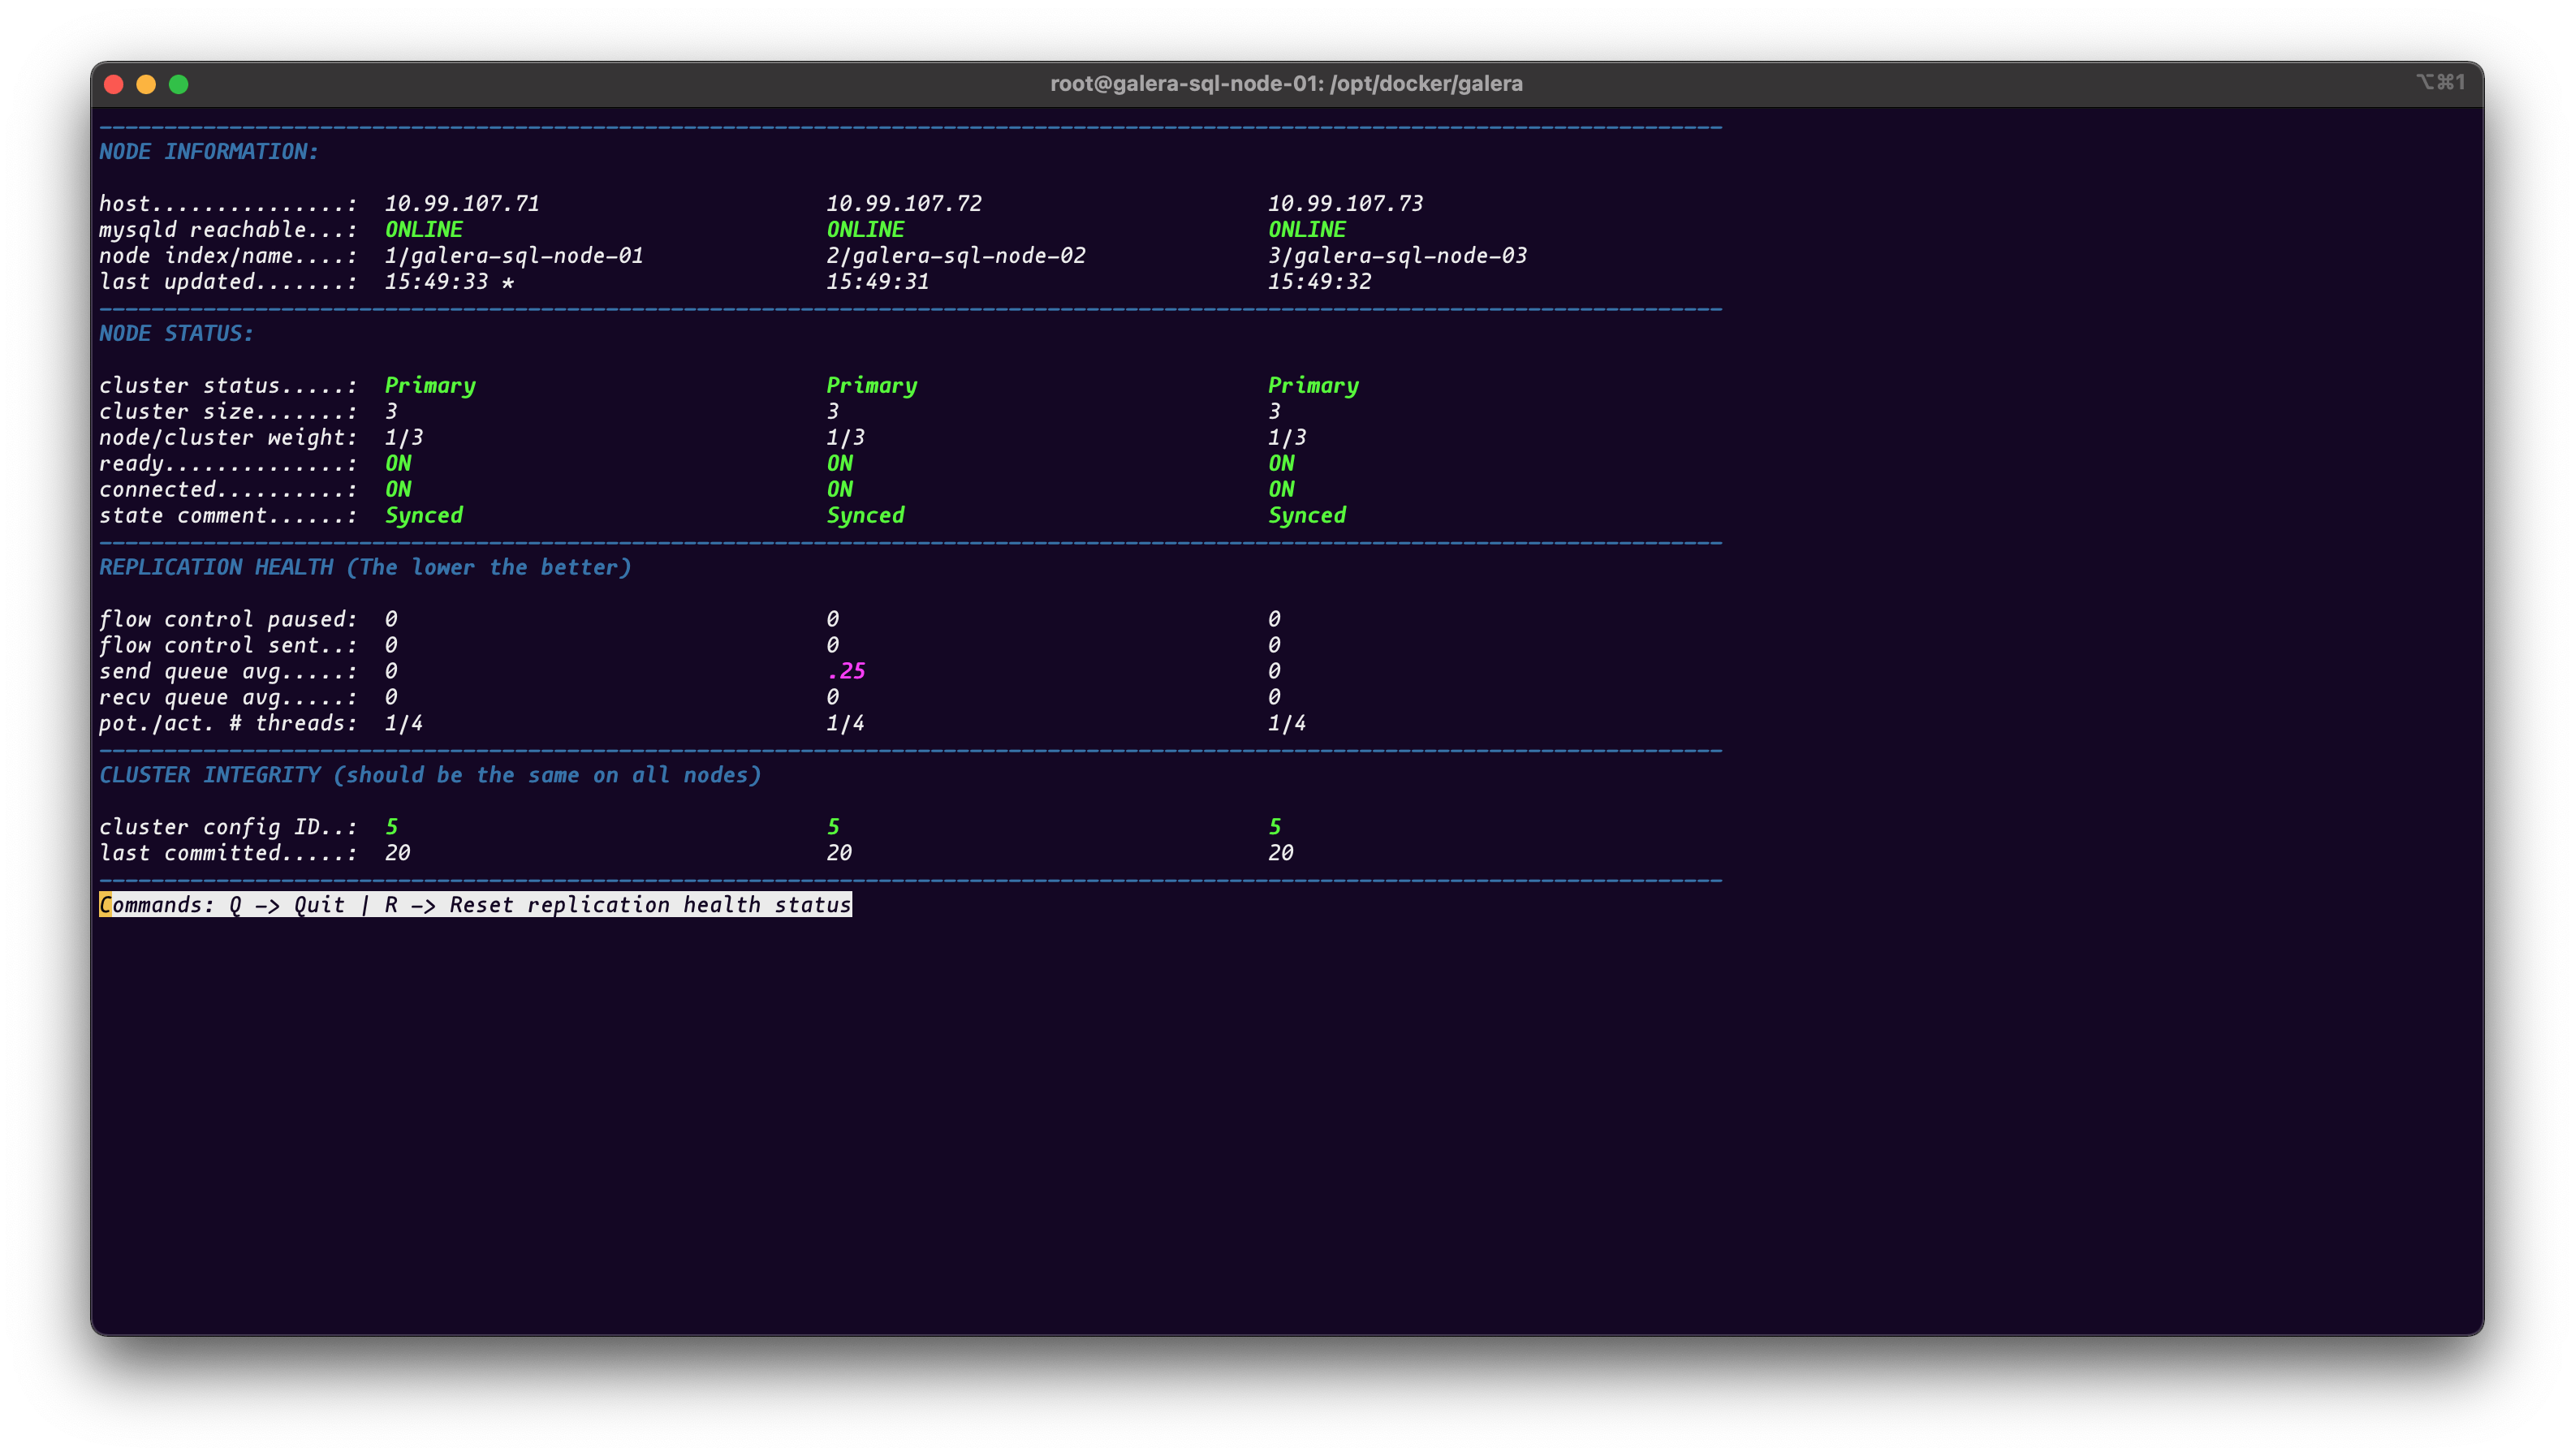
You can check status of your Cluster with nice bash script from Patrice Scheidt
Here is the hint how to use it:
./check_status.sh --hosts=10.99.107.71,10.99.107.72,10.99.107.73 -uroot -ppassword --follow
Here is the picture with result:
Conclusion
We deployed 3 nodes MariaDB Galera Cluster with Docker. Now, we can connect to our cluster with Keepalived VIP IP Address 10.99.107.70 from the application or any SQL Client and be safe if something goes wrong. Unfortunately, in bitnami-docker-mariadb-galera image is a bug which will lead to loose of the bootstrap node if goes down or it's restarted because of maintenance, but I hope that PR#53 will solve problem. For now we can use image with patched libmariadbgalera.sh script (We need to download patched version to root folder of script galera.sh) with adding an -v option in our bash script like:
-v "$PWD/libmariadbgalera.sh:/opt/bitnami/scripts/libmariadbgalera.sh"
and be safe even if bootstrap node will go down. I hope that you will find this post useful. Thank you.